Are you due for a much-needed manicure?
Going to a salon to get a professional to do your nails is fun, but for most people, it’s a special treat. Getting your nails done is expensive.
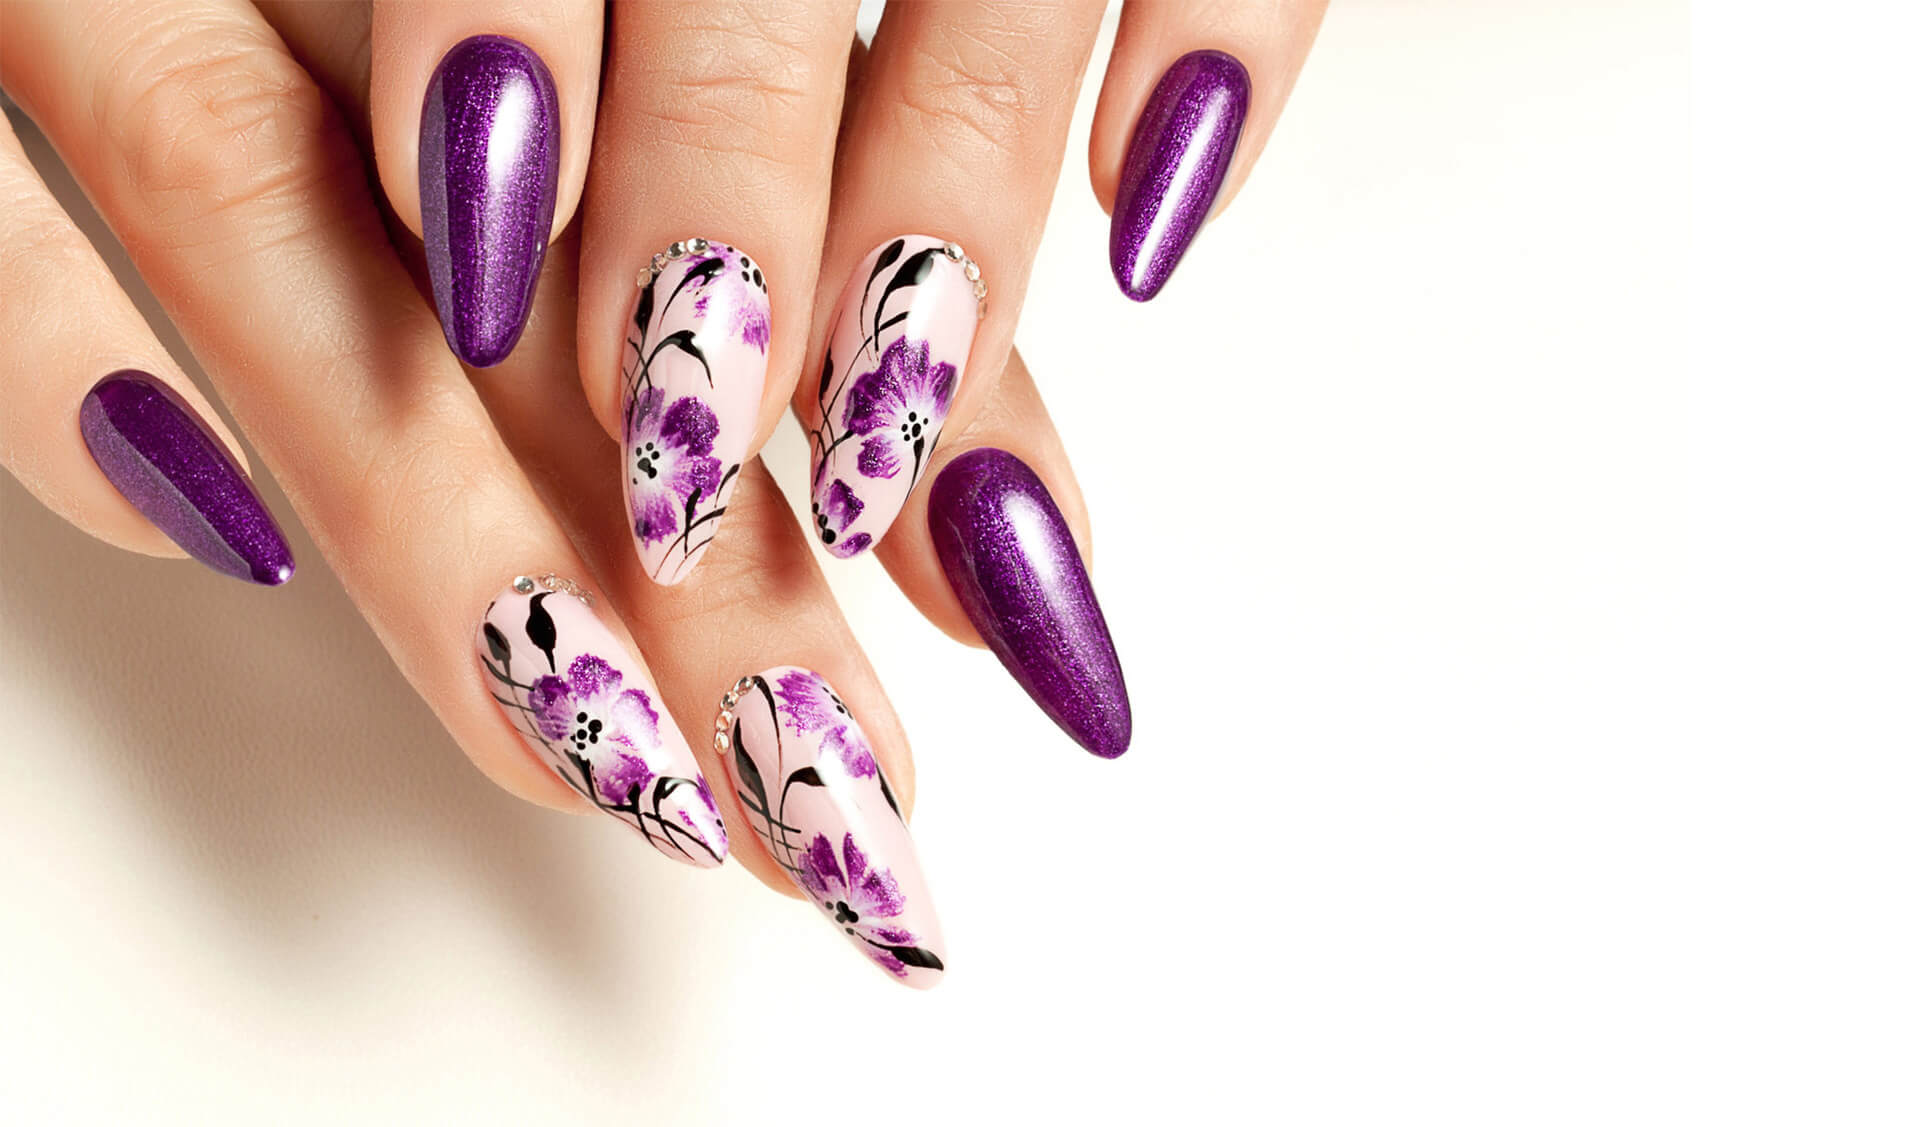
Why not do your nails on your own? DIY nails are easy and fun, and as you keep learning to do nails at home, you can get more intricate with your designs and ideas. You might even be able to graduate from standard nail polish to more advanced nail art methods.
Not sure how to set up your at-home manicure? We’re here to help. Keep reading to learn all about giving yourself a manicure at home.
Decide on Your Method
First, pick the kind of manicure that you want to do. Some of your options are going to be mix and match, but you need to decide where you want to start.
We’ll go more into detail about using each popular method later on, but you’re choosing between painting, dip powder, and polygel if you’re a beginner.
If you’re brand new to doing your own nails, you want to stick with nail polish. It’s the cheapest and easiest method. That said, it doesn’t always give you salon-quality results, so when you’re ready you can move onto the other options.
Pick Your Ideal Length and Shape
If you’re painting or dipping your nails, you’re limited to your natural nail length (unless you combine it with false nails or nail extensions). That said, you can still determine what kind of shape you want.
Do you want a blunt cut? Maybe you want tapers or points. As long as your natural nails can support it, you have options.
If you’re opting for polygel, you have a lot of freedom. Look into polygel nail templates to see which one suits your aesthetic best.
Prepare Your Nails
Nail preparation is going to vary depending on your method of choice. You should always prep your nails before you start your actual manicure to give your nails the best chance at staying smooth and chip-free for as long as possible.
For all nail types, you want to start by trimming and filing your nails. You also want to clean up your cuticle area. It’s a good idea to take this time to moisturize your hands as well.
If you’re using polygel or dip nails, you want to file the fronts of your nails as well to give your gel or powder a place to adhere to.
For all nail types, you’re going to apply a primer or base coat (or both). This protects your natural nail and makes it easier for your method of decoration to stick.
When it comes to SNS dip nails, make sure that you do several layers of priming powder and priming solution. When in doubt, go with the instructions.


Your Manicure Process
The manicure process is going to vary depending on how you’re doing your nails. When it comes to applying your base colors after you prep your nails, there are a few steps to take. Here are the basics depending on your method.
Painting
After you apply your base coat, pick your color. If you’re lucky, you’ll get a smooth and opaque nail color for your first layer.
If your brush is thick enough, try to do your color in one sweep. Make the brush wide and flat against your nail. Then, paint over the tip of your nail to help prevent chipping.
Add another coat if necessary.
If you aren’t going to decorate your nails with designs or decals, you can stop here and apply your topcoat.
Dip Powder
Dip powder is a bit more complicated but it gives longer-lasting results.
Once you’ve prepped your nail and built up a thick layer of primer, pick your powder color. Powders come in all kinds of varieties from matte colors to shiny holo or chrome.
You can check out one of the bundles or the SNS nail kit if you want an all-in-one starter package.
Dip your nail, while it’s wet with your base coat, into your powder of choice. You won’t get an opaque coating, so you’ll have to dust off excess powder, add another coat, and dip it again.
When you have an opaque coating, add another priming layer and a finishing powder.
File the front of the nail again and add a topcoat.
Polygel
Polygel is tricky, so anticipate a few mishaps.
The most common way to do polygel starts in the same way as dip powder with rough nails.
Take a nail form that fits your desired size and shape. Choose your polygel nail color of choice (or you can paint later) and put a pea-sized amount in the nail form.
Use a slip solution (or rubbing alcohol) on a brush to shape and adjust the gel until it’s not too thin and not too thick. Then, press the nail form onto your nail.
While the form is against your nail, use a UV light to set the gel.
When your gel is set, trim and file your nail. Use rubbing alcohol to get rid of the sticky layer on the side of your nail that’s closest to your skin.
Add a UV top coat and shine the UV lamp on your nail once more to set everything into place.
Do Your Nails at Home
You can do your nails at home with ease. While your first go-around might not be salon-quality, you’ll be shocked at how much you improve if you persevere.
Do your next manicure at home and make your nails fancy!
For more helpful posts all about beauty and more, visit the rest of our site!